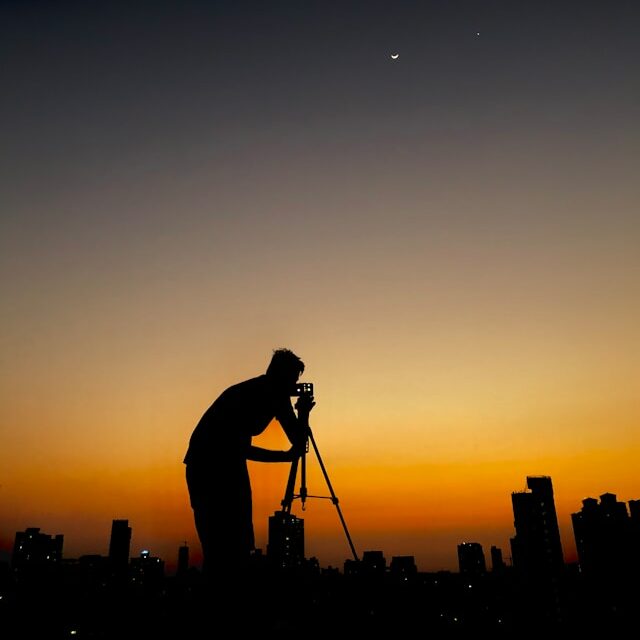
Smartphones aren’t just for selfies or snapping your lunch—a lot of people are discovering the joys of using them for smartphone astrophotography.
If you’ve ever gazed up at a starry sky and wished you could capture its beauty, then you might have considered getting a DSLR camera or a telescope.
But what if I told you that your smartphone can actually do a pretty impressive job all on its own?
More advanced smartphone sensors and greater processing power means that many smartphones are now rivalling entry-level DSLR cameras for low-light performance.
So, with just the addition of a small tripod, a good app and maybe a telescope adapter, your smartphone can actually capture some stunning celestial images.

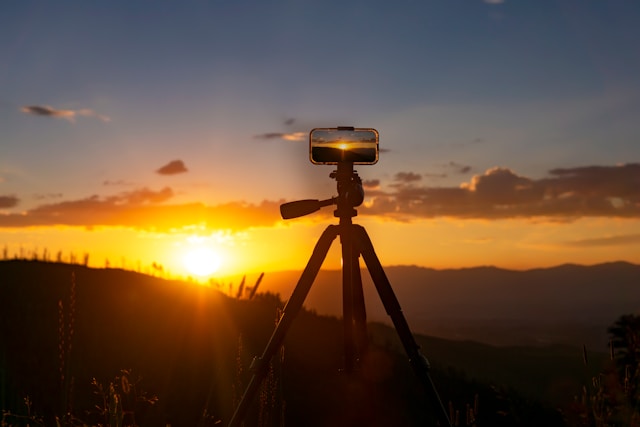
Stability Matters: Using Tripods and Mounts
First off, if your smartphone is going to capture all those amazing details in the night sky, it has to stay put.
If you were an artist you wouldn’t try to paint a masterpiece on a wobbly canvas, right? Same idea here. A shaky hand can ruin what might’ve been a perfect shot of the night sky.
That’s where tripods and mounts come in, providing your smartphone with the stable platform it needs to perform at its best. The good news is that you can get yourself set up with these really cheaply.
Lets quickly look at the differences between a tripod and a mount :-
A tripod is the three legged stand that provides stable support for cameras and telescopes. They are usually made of aluminium, carbon fibre, or steel.
The mount is the mechanism that attaches your camera or telescope to the tripod. This allows for precise movement and positioning—like tilting, panning, or tracking celestial objects.
There are four main types of mount :-
- Ball Head (for quick, fluid movement)
- Pan-tilt head (for controlled horizontal/vertical movement)
- Equatorial mount (for tracking stars)
- Gimbal mount (for stabilizing video)
You could think of the tripod as the legs of a robot, and the mount as the neck and head—the tripod holds everything up, while the mount lets you move and aim with precision.
What’s very useful is that many entry-level tripods come with a built-in mount (often a ball head or pan-tilt head) already attached.
Choosing the right equipment depends on your goals and budget. If you’re just starting, a basic, budget-friendly tripod can make a great difference.
You can go for a simple tabletop tripod for portability or opt for a full-sized one if you prefer more flexibility in positioning your camera.
Different tripods and mounts come with different plus points. Some are ultra-light for easy transport, and some are built heavy for rugged terrain. Look for models with flexible legs or remote shutter controls to avoid touching the phone during capture.
Also it’s a good idea to practice with different setups to find what works best. Get familiar with setting up quickly to avoid missing that perfect celestial moment.
Once you get the hang of it, you’ll find your particular mount and smartphone work great together.
With a steady base, your smartphone can transform into a powerful tool for capturing the night sky’s wonders, and that’s the first step towards turning an ordinary snapshot into a breath-taking image.
Smartphone Adapters: For Smartphone-Telescope Pairing
If you’re using a telescope we’ll assume it already has a mount with it (sorry if this isn’t the case!) What we won’t assume is that you have a smartphone adapter to go with it, which is something you’ll need.
Smartphone adapters for telescopes open up a whole new realm of astrophotography, allowing you to capture images you wouldn’t be able to get with just your phone.
These adapters serve as a bridge, letting your phone harness the power of a telescope, bringing celestial bodies that are light-years away into sharp focus on your screen.
What’s great about these adapters is their simplicity. They’re designed to clamp your smartphone in place and align its camera with the eyepiece of your telescope. This means you can snap a photo of planets, the moon’s craters, and even distant galaxies.
That said, you need to ensure the adapter fits both your smartphone and telescope snugly. Most smartphone adapters are designed to fit telescopes with 1.25″ or 2″ eyepieces.
Some adapters are universal and accommodate both sizes, but others are specific — so check your telescope’s eyepiece diameter before purchasing.
Teaming up your telescope with a smartphone adapter can bring another level of detail to your astrophotography. It’s a partnership between old-school optics and digital technology that can yield brilliant results.
Smartphone Astrophotography: Apps and Optional Extras
When it comes to honing your smartphone astrophotography, choosing the right camera app is important. Standard camera apps tend to fall short when faced with the challenges of night sky photography.
Dedicated camera apps designed for longer exposure times allow your smartphone’s sensor to soak up more light, revealing stars and celestial bodies otherwise invisible.
These apps usually come with manual controls, which are indispensable for dialing in things like ISO and shutter speed. Adjusting these settings manually can vastly improve image quality compared to the usual auto-settings.
Top Astrophotography Apps
| App Name | Key Features | Ideal For |
|---|---|---|
| NightCap Camera | Long exposure, ISO control, light trails | iPhone users |
| ProCam X | Manual controls, RAW capture, burst mode | Android users |
| Stellarium | Real-time sky maps, AR overlays, object tracking | Planning & framing |
| DeepSkyCamera | Stacking, noise reduction, auto alignment | Ideal for casual stargazers |
Optional Extras
Once you’ve got the camera app sorted, focus turns to the optional extras.
A remote shutter release or a simple timer is a great idea as they can help eliminate blur from pressing the shutter button. Adding lens attachments can extend your phone’s capabilities, offering varied effects, like wider fields of view or greater zoom.
A portable charger power bank is well worth considering as an extra. Using long exposures can drain your battery pretty quickly.
Shooting in manual mode with high ISO and long shutter speeds uses more power than typical phone photography. Also, running sky-mapping apps, camera apps, and editing tools simultaneously can eat through battery life fast.
A red flashlight is also a good idea as it preserves night vision while adjusting your gear, as is a lens cleaning cloth to keep potential dew or dust at bay.
While not absolutely necessary, these extras can enhance your experience and the quality of your photos.
Post-Processing: Sharpening your Smartphone Astrophotography
Post-processing is where you polish up those great night-sky photos you’ve taken, and this is where editing apps come into play.
Editing apps differ from the camera apps already mentioned as these cater to adjustments in contrast, brightness, and colour balance—fine-tuning your night sky photos.
Some apps also offer advanced stacking techniques, which combine multiple shots to reduce noise and bring out finer details. Even a quick filter or two can transform a good shot into a great one, unveiling the sky’s hidden secrets.
For more tips on post processing and smartphone astrophotography check out the guide Astronomy Photography Tips: Capturing The Cosmos
Tips for shooting the night sky with your smartphone
Once your gear is set up, it’s time to capture the cosmos. Here’s a simple step-by-step guide to help beginners get started:
Choose Your Target
- Start with the Moon: It’s bright, easy to find, and forgiving for first-time shots.
- Try planets next: Jupiter and Saturn are great targets—especially with a telescope adapter.
- Go for star fields: Use long exposure to capture constellations or even the Milky Way.
Use Manual Camera Settings
- ISO: Start around 800–1600 for stars; lower for the Moon.
- Shutter Speed: Try 5–15 seconds for star fields; 1/250 for the Moon.
- Focus: Set to infinity if possible, or tap to focus on the brightest object.
Stabilize and Shoot
- Enable timer or remote shutter: Avoid touching the phone during capture.
- Use a tripod: Even a slight wobble can ruin long exposures.
- Take multiple shots: Conditions vary—more photos mean more chances for a keeper.
Experiment and Adjust
- Try different apps: Some offer stacking or noise reduction.
- Play with exposure: Too bright? Lower ISO or shorten shutter time.
- Use burst mode: Great for capturing fleeting moments like ISS flyovers.
Smartphone astrophotography proves that you don’t need expensive gear or years of experience to connect with the cosmos. With a few simple tools, the right apps, and a bit of patience, your phone can give you some great snaps of the night sky.
Whether you’re capturing the Moon’s craters, chasing constellations, or experimenting with long exposures, each photo is a small step into a much bigger universe.
So why not give it a go. Grab your phone, head outside, and start exploring—because the night sky is waiting, and your pocket-sized observatory is ready.