Getting started in astronomy photography means diving into the fascinating world of celestial bodies and their movements.
It’s about understanding what’s going on above us and learning what you can capture with a camera. There’s a lot up there that can make any image awe-inspiring when done right.
Before you start, it helps to decide what you want to photograph. The Moon, Milky Way, planets, star trails and deep-sky objects all require slightly different approaches. Knowing the difference can help you figure out what you’re most interested in capturing.
Astrophotography isn’t one-size-fits-all, either. There’s wide-field, which is great for capturing large sections of the sky, showing stars and planets along with earthly landscapes. Then there’s deep-sky photography, focusing on distant and often faint objects like galaxies far, far away.
Each type offers its own set of challenges and rewards, so it’s worth exploring what catches your interest the most.
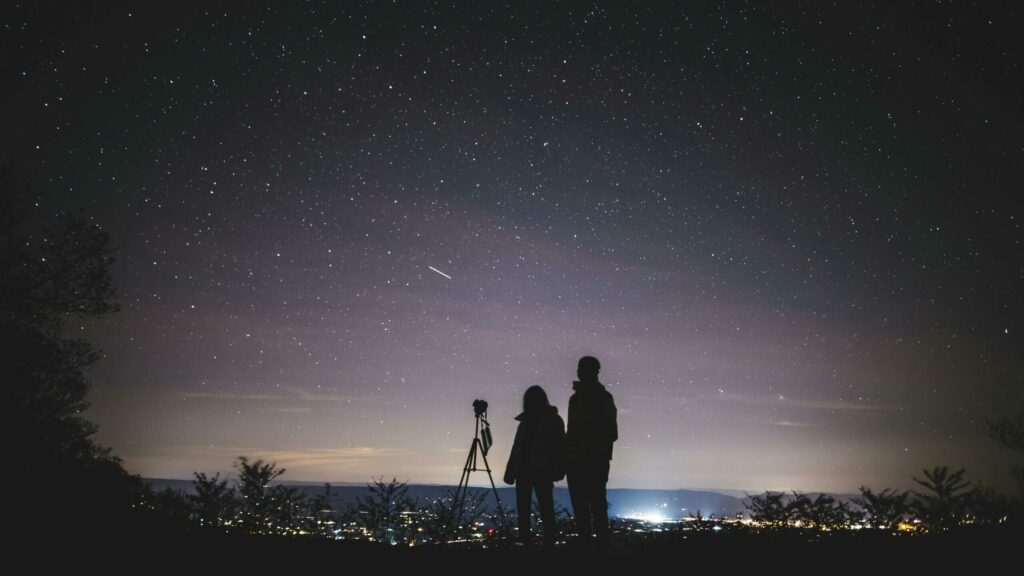
First, Decide What You Want to Photograph
Astrophotography can mean very different things, and the best approach depends on your subject. You don’t need expensive equipment to get started, but it’s worth knowing what each type of photography involves.
| What you want to photograph | A good starting point | What matters most |
|---|---|---|
| Moon | Camera or smartphone, tripod, telephoto lens or telescope | Focus, exposure and a steady setup |
| Milky Way & constellations | Camera, wide-angle lens and tripod | Dark skies, composition and exposure |
| Star trails | Camera, wide-angle lens, tripod and intervalometer | Long sequences of exposures and a clear sky |
| Planets | Telescope, suitable camera and tracking mount | Magnification, steady tracking and image stacking |
| Nebulae & galaxies | Camera, suitable telescope or lens and tracking mount | Accurate tracking, long exposures and stacking |
If you’re completely new to astrophotography, wide-field night-sky photography is one of the easiest places to start. A camera, wide-angle lens and sturdy tripod can be enough to capture the Milky Way, constellations and attractive night-sky landscapes.
Timing is Everything: Planning Your Shoot
Planning is a very important part of astrophotography. Knowing the best times and seasons to capture celestial events can make a big difference. Whether it’s a lunar eclipse or a meteor shower, each event has its peak, and being ready is half the battle.
Being ready is greatly helped by having an understanding of star charts. They reveal the heavens’ patterns and help you identify what’s visible and where to point your camera.
Plan your shoots around periods of dry, clear skies maximizes your shooting opportunities. Cloudy nights and high humidity can obscure your view, so keeping an eye on weather forecasts is a must.
Getting familiar with astronomy apps and tools can be a game-changer. These applications help track the positions of stars and the phases of the moon, so you know exactly when to have your camera ready. Use apps like Stellarium or SkySafari to track celestial objects and plan your shots.
Cities often drown out the night sky with light pollution, so you could explore options like rural areas or higher elevations. Utilizing apps that predict weather patterns and light pollution levels can really help.
Apps like Clear Outside help predict not only cloud cover but also humidity and atmospheric transparency, ensuring you’re ready when the skies cooperate.
Don’t forget the practicalities—dress warmly in layers, pack snacks for those long nights, and always carry a headlamp with a red light to preserve your night vision.
Practical Checklist for a Night Shoot
Here’s a quick checklist to ensure a hassle-free astrophotography experience:
- Camera (DSLR or mirrorless)
- Wide-angle and zoom lenses
- Sturdy tripod
- Extra batteries and memory cards
- Remote shutter or intervalometer
- Headlamp with red light
- Warm clothes and blankets
- Star maps or apps for celestial navigation
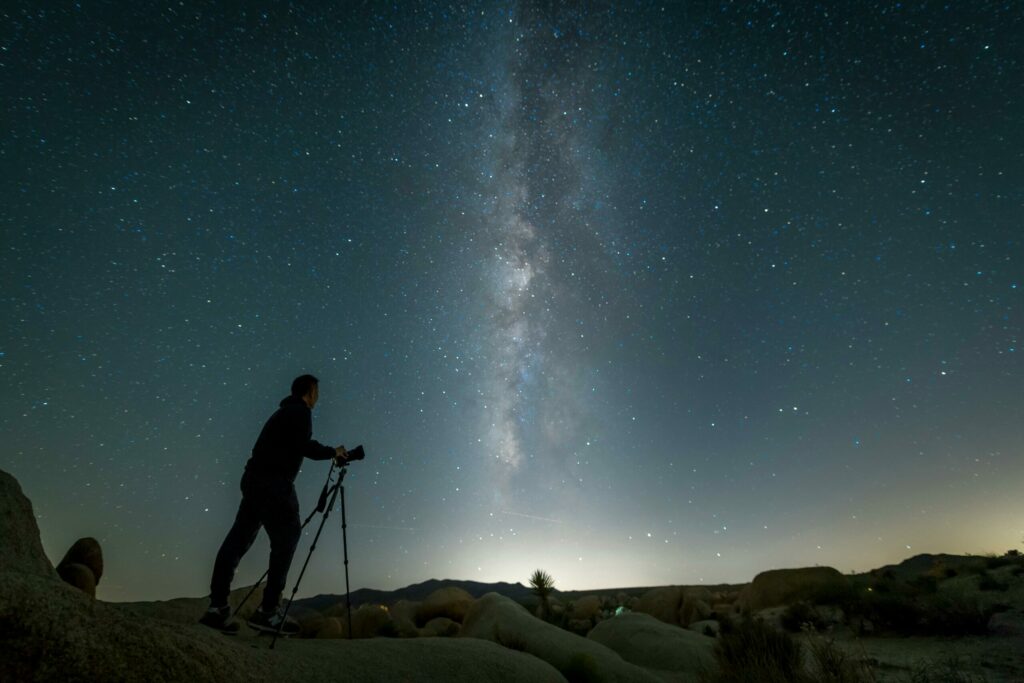
Essential Equipment for Starry Shots
Getting the right gear can make a world of difference in your astrophotography journey.
It’s not just about the camera, although that’s a big part too. For most, the choice boils down to DSLR or mirrorless cameras, both offering unique advantages tailored to capturing celestial wonders.
A good DSLR or mirrorless camera with manual settings will allow you to control the shutter speed, aperture, and ISO, which are crucial for getting those stars just right. Entry-level models are fine, but as you get the hang of it, exploring more advanced options can really open up new possibilities.
Looking for the right gear to get started? Check out our guide to the best astrophotography cameras for beginners.
Once you have a suitable camera and lens, a few accessories can make astrophotography easier.
Filters
Filters can be useful in astrophotography, but you don’t need one to get started. Their usefulness depends largely on what you’re photographing.
For Moon photography, a dedicated Moon filter is generally unnecessary when using a camera. The Moon’s brightness can usually be controlled through your camera’s exposure settings.
Light-pollution filters can sometimes improve contrast when photographing from areas affected by artificial light, although their effectiveness varies with the type of lighting and the target you’re photographing. They aren’t a substitute for finding darker skies.
Narrowband filters are more specialised and are particularly useful for photographing emission nebulae. By allowing specific wavelengths of light through, they can increase the contrast of nebular detail while reducing much of the unwanted background light.
If you’re just starting out, don’t worry about buying filters straight away. A suitable camera or smartphone, lens, sturdy tripod and a good location will usually be more important.
Tripods
A sturdy, adjustable tripod reduces camera shake, helping maintain a sharp image. Investing in a quality tripod really pays off over time.
Explore our top 3 astrophotography tripods—budget-friendly, mid-range, and high-spec picks—in The Best Tripod for Astrophotography
Telescopes
Telescopes can be useful for photographing the Moon and planets, where their longer focal lengths allow you to capture much more detail.
However, astrophotography through a telescope is more involved than simply attaching a camera, and the best setup depends on what you’re trying to photograph. For deep-sky objects such as galaxies and nebulae, accurate tracking becomes particularly important because the exposures are much longer.
Tracking/Remote Shutters
For deep-sky objects such as galaxies and nebulae, accurate tracking becomes particularly important because the exposures are much longer.
Remote shutters and intervalometers, though optional, are great tools if you’re diving into time-lapse photography or want to take ultra-long exposure shots without touching your camera. They’re small, relatively inexpensive, and can be incredibly helpful in capturing those flawless shots without any physical contact with your camera.
Mastering Camera Settings for the Night Sky
For capturing those breathtaking celestial moments, having the right settings on your camera is a must. A balance between aperture, shutter speed, and ISO can help keep the stars bright and get you the best results.
A Good Starting Point for Night-Sky Photography
If you’re photographing the Milky Way or a wide-field night sky with a camera on a tripod, start with your lens at its widest practical aperture, a shutter speed of around 10–20 seconds, and an ISO of around 1600–3200.
Take a test shot and check the result. If the image is too dark or bright, or the stars show noticeable trailing, adjust the settings and try again.
These are starting points rather than fixed settings. Your camera, lens, location and sky conditions will all affect the result, so taking a few test shots is the best way to find the settings that work for you.
ISO
ISO controls how strongly your camera amplifies the light recorded by the sensor. A higher ISO can help you record faint stars in a relatively short exposure, but it can also make noise more noticeable. Start with a moderate-to-high ISO and adjust it after checking a test shot.
Shutter Speed
Shutter speed determines how long your camera’s sensor is exposed to light. Longer exposures can help reveal faint stars and deep-sky objects, but they also increase the risk of star trails if your camera isn’t tracking the sky.
For the Moon and planets, you usually need much shorter exposures because these objects are considerably brighter.
Also, by keeping the shutter open longer, you can use a particular technique to capture the movement of stars. This creates those stunning star trails that add dynamic beauty to your composition.
Focusing
Focusing at night can be tricky because there may not be enough light for autofocus to lock onto a subject, particularly when you’re photographing stars. Switch your lens to manual focus and, if your camera has Live View, use it to display a bright star or other distant light source.
Magnify the view on the camera’s screen and adjust the focus until the star appears as small and sharp as possible. Once you’ve achieved good focus, avoid changing the focus ring while you’re shooting. It may take a little patience to get right, but careful focusing can make a big difference to the sharpness of your images.
Photographing The Moon
One of the first subjects to consider is the moon and its different phases.
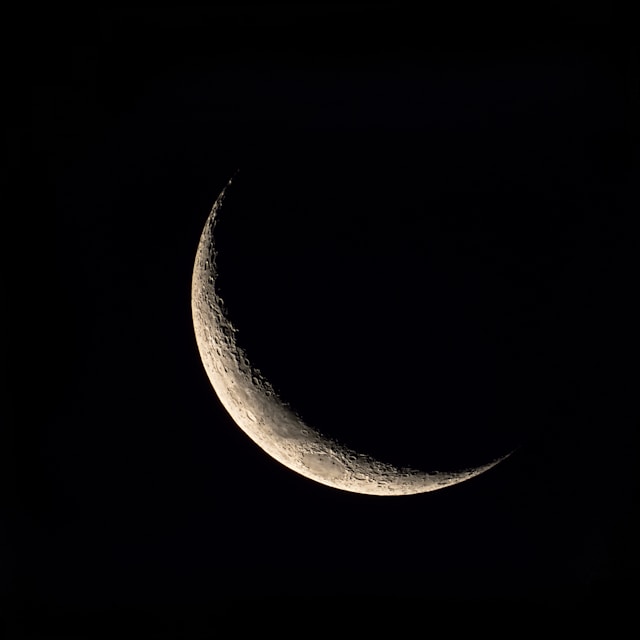
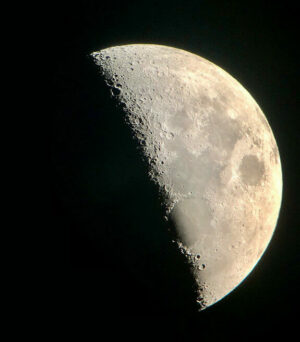
If you’re photographing the Moon itself, different phases offer different opportunities. A full Moon shows the entire illuminated disc, while crescent and quarter phases can reveal more dramatic shadows and surface detail along the boundary between the illuminated and dark portions, called the terminator.
For the Moon and planets, their relative brightness means you can generally use a lower ISO and much shorter exposure than you would for faint stars or deep-sky objects. Take a test shot and adjust the exposure until you capture the detail you want without overexposing the brightest areas.
Photographing the Milky Way
For beginners, Milky Way photography is a good place to start because you can capture impressive results with a camera, a wide-angle lens and a sturdy tripod.
Find the darkest practical location you can, then use the camera settings and focusing techniques described above as your starting point.
Photographing Star Trails
Star trails are usually created by taking a series of consecutive exposures and combining them into a single image. Use a sturdy tripod and keep the camera fixed in the same position throughout the sequence.
An intervalometer or remote shutter can help you take the exposures without touching the camera, while keeping the gaps between shots as short as possible helps create smooth trails.
Deep-Sky Photography
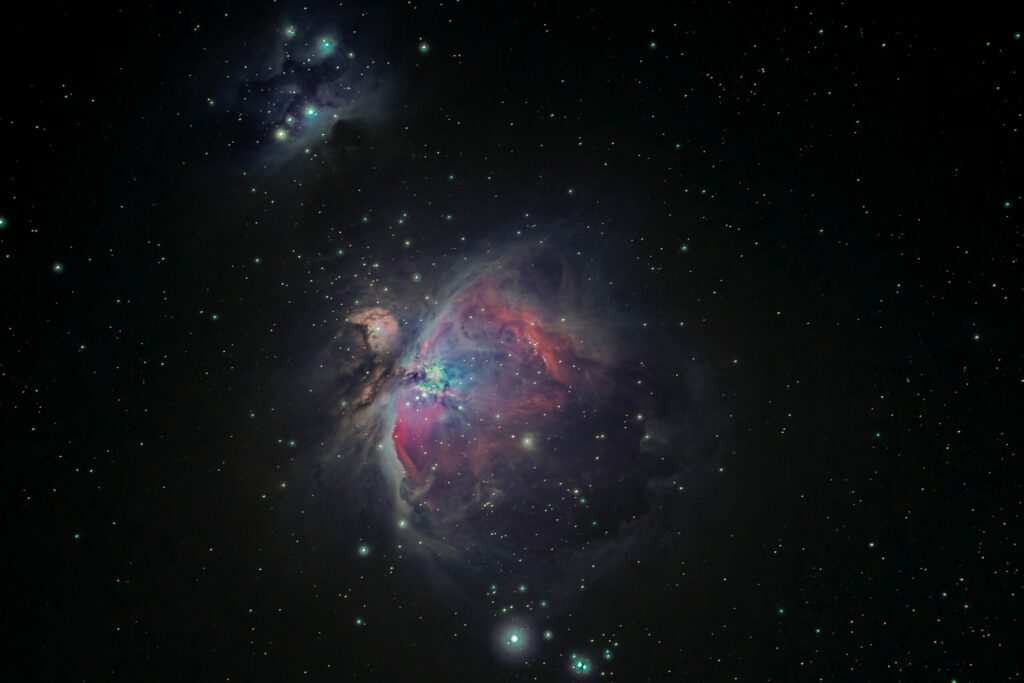
Deep-sky objects such as galaxies and nebulae are much fainter than the Moon and many stars, so photographing them usually requires a more specialised setup.
A tracking mount that follows the apparent movement of the sky allows you to use longer exposures while keeping stars sharp. Multiple exposures can then be combined through stacking to reveal more detail and reduce noise.”
Composition and Framing Your Cosmic Art
Composition matters just as much in astrophotography as it does in other types of photography. For wide-field images such as the Milky Way, try including an interesting foreground element — such as trees, mountains, buildings or a lake — to give the image depth and a sense of scale.
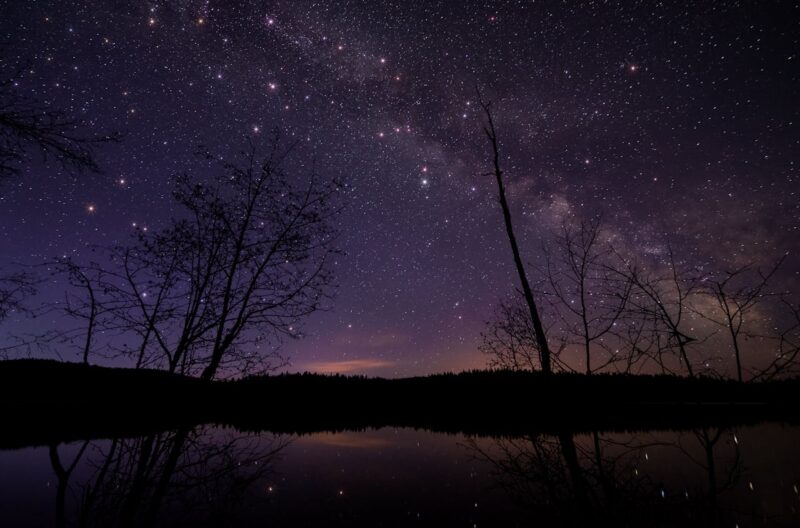
Think about how the different elements in your frame work together. For a Milky Way or night-sky landscape, you might place the horizon lower in the frame to give more space to the sky, or position a prominent foreground subject to one side rather than directly in the centre.
Experiment with different compositions before you take the shot — even moving a few steps can dramatically change the balance of the image.
Star trails and the Milky Way can also provide strong focal points for a night-sky composition.
Star trails are created by combining a series of exposures to show the apparent movement of the stars across the sky, while the Milky Way can be used as a natural leading feature through the frame. When planning your composition, consider where these elements will appear in relation to the foreground and horizon.
Processing Techniques: Enhancing Your Astrophotography Skills
Once you’ve captured your astrophotos, post-processing can help bring out details that may be difficult to see in the original image. Basic adjustments to exposure, contrast, colour and shadows can reveal more of the night sky without changing the underlying photograph.
Programs such as Adobe Lightroom and Photoshop can be used for this, although there are also dedicated astrophotography programs available.
Start with simple adjustments rather than trying to change the image dramatically. Adjust the exposure and contrast to bring out the sky, use the highlights and shadows controls to recover detail, and make small colour adjustments if the image has an unwanted colour cast.
The aim is to make the stars and other celestial details easier to see while keeping the image looking natural.
Noise reduction can help manage the grain that often appears in images taken at high ISO settings or with long exposures. Apply it carefully, though, as too much noise reduction can remove fine detail.
Sharpening can bring out detail in stars and other celestial objects, but use it sparingly to avoid an unnatural or overly processed look.
Image stacking is a useful technique for improving astrophotographs, particularly when photographing faint deep-sky objects.
By combining multiple exposures of the same target and aligning them, stacking can reduce random noise and improve the signal-to-noise ratio, making faint details easier to see. Dedicated software such as DeepSkyStacker can help automate this process.
Post-processing aims to enhance the information you’ve captured rather than overwhelm it with excessive adjustments. Astrophotographs can be processed creatively, but keeping the result natural-looking is usually a good starting point, especially while you’re learning.
Mobile Phone: Astronomy Photography Tips
Astrophotography isn’t limited to high-end cameras. Modern smartphones (paired with apps like NightCapCamera or ProCamera) and clip-on telescopic lenses can deliver surprisingly impressive results.
Many smartphones have a dedicated Night mode that can improve low-light photographs by automatically adjusting the exposure and combining multiple images.
If your phone offers manual or Pro controls, you can also adjust settings such as shutter speed, ISO and focus yourself. Focusing on a distant object or setting the focus close to infinity can help keep stars sharp.
Take a test shot and check the result, as the best focus point can vary between phones and camera apps. For the best results, keep the phone steady on a tripod or other solid support while taking the photograph.
If your phone supports RAW capture, it can also preserve more image information for post-processing. You can use mobile editing apps such as Lightroom or Snapseed to make simple adjustments to exposure, contrast, colour and noise.
Keep these adjustments fairly subtle at first, as pushing them too far can make stars look unnatural or introduce unwanted noise and artefacts.