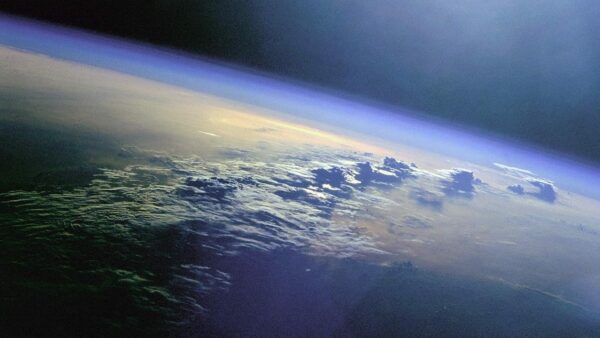
Getting started in astronomy photography means diving into the fascinating world of celestial bodies and their movements.
It’s about understanding what’s going on above us and learning what you can capture with a camera. There’s a lot up there that can make any image awe-inspiring when done right.
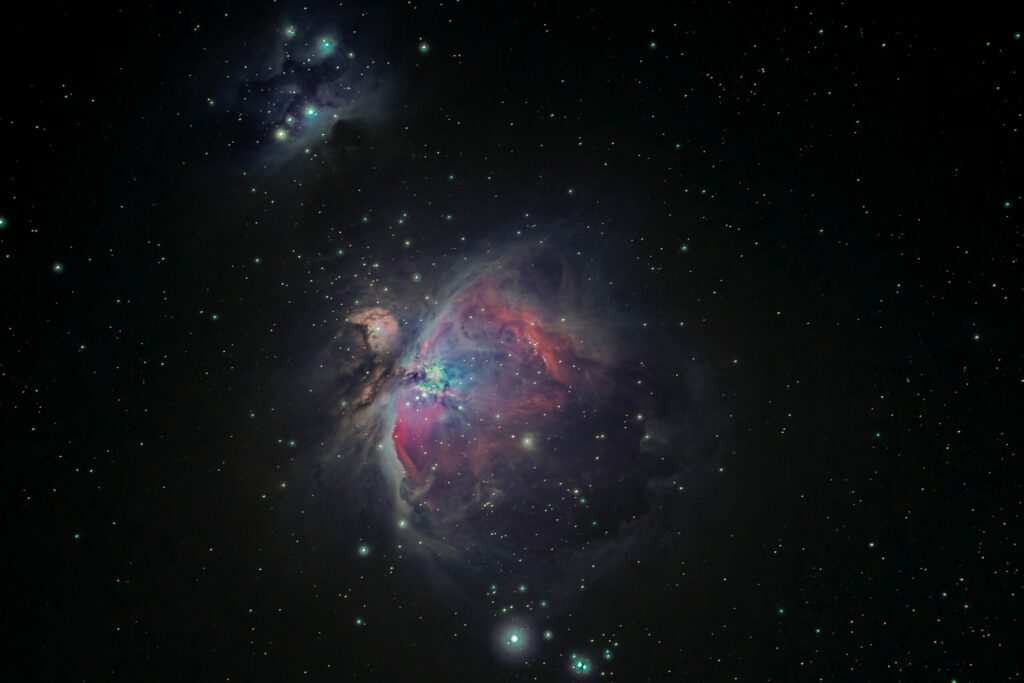
You’ll want to become familiar with the various types of celestial objects that make excellent photography subjects. This includes things like the moon and planets to nebulae and star clusters. Knowing the difference can help you figure out what you’re most interested in capturing.
Astrophotography isn’t one-size-fits-all, either. There’s wide-field, which is great for capturing large sections of the sky, showing stars and planets along with earthly landscapes. Then there’s deep-sky photography, focusing on distant and often faint objects like galaxies far, far away.
Each type offers its own set of challenges and rewards, so it’s worth exploring what catches your interest the most.
Timing is Everything: Planning Your Shoot
Planning is a very important part of astrophotography. Knowing the best times and seasons to capture celestial events can make a big difference. Whether it’s a lunar eclipse or a meteor shower, each event has its peak, and being ready is half the battle.
Being ready is greatly helped by having an understanding of star charts. They reveal the heavens’ patterns and help you identify what’s visible and where to point your camera.
Plan your shoots around periods of dry, clear skies maximizes your shooting opportunities. Cloudy nights and high humidity can obscure your view, so keeping an eye on weather forecasts is a must.
Getting familiar with astronomy apps and tools can be a game-changer. These applications help track the positions of stars and the phases of the moon, so you know exactly when to have your camera ready. Use apps like Stellarium or SkySafari to track celestial objects and plan your shots.
Cities often drown out the night sky with light pollution, so you could explore options like rural areas or higher elevations. Utilizing apps that predict weather patterns and light pollution levels can really help.
Apps like Clear Outside help predict not only cloud cover but also humidity and atmospheric transparency, ensuring you’re ready when the skies cooperate.
Don’t forget the practicalities—dress warmly in layers, pack snacks for those long nights, and always carry a headlamp with a red light to preserve your night vision.
Practical Checklist for a Night Shoot
Here’s a quick checklist to ensure a hassle-free astrophotography experience:
- Camera (DSLR or mirrorless)
- Wide-angle and zoom lenses
- Sturdy tripod
- Extra batteries and memory cards
- Remote shutter or intervalometer
- Headlamp with red light
- Warm clothes and blankets
- Star maps or apps for celestial navigation
Essential Equipment for Starry Shots
Getting the right gear can make a world of difference in your astrophotography journey.
It’s not just about the camera, although that’s a big part too. For most, the choice boils down to DSLR or mirrorless cameras, both offering unique advantages tailored to capturing celestial wonders.
A good DSLR or mirrorless camera with manual settings will allow you to control the shutter speed, aperture, and ISO, which are crucial for getting those stars just right. Entry-level models are fine, but as you get the hang of it, exploring more advanced options can really open up new possibilities.
Looking for the right gear to get started? Check out our guide to the best astrophotography cameras for beginners.
When talking cameras, you can’t forget about the accessories that elevate them.
Lens filters in astrophotography are very useful for enhancing the quality of your celestial images.
Moon filters help reduce the Moon’s brightness, which can often be overwhelming, especially during its fuller phases. This makes it easier to see finer details like craters and ridges.
Filters can block out wavelengths of artificial light, such as those from streetlights, making it easier to capture the natural beauty of the night sky.
Narrowband filters isolate specific wavelengths of light, which can make nebulae and other deep-sky objects stand out vividly.
Filters can also help bring out subtle details in astronomical objects, making your photos more striking and detailed.
Tripods are essential for keeping your camera steady during those long exposures. A sturdy, adjustable tripod reduces camera shake, helping maintain a sharp image. Investing in a quality tripod really pays off over time.
Explore our top 3 astrophotography tripods—budget-friendly, mid-range, and high-spec picks—in The Best Tripod for Astrophotography
Telescopes enhance your reach, pulling celestial wonders closer to your lens. A simple telescope affixed to your camera can work wonders when you shoot planets or the moon’s surface in high detail. Similarly, a pair of good binoculars can do the job without breaking the bank.
Remote shutters and intervalometers, though optional, are great tools if you’re diving into time-lapse photography or want to take ultra-long exposure shots without touching your camera.
They’re small, relatively inexpensive, and can be incredibly helpful in capturing those flawless shots without any physical contact with your camera.
Mastering Camera Settings for the Night Sky
For capturing those breath-taking celestial moments, having the right settings on your camera is a must. A balance between aperture, shutter speed, and ISO can help keep the stars bright and get you the best results.
Correctly setting your ISO is key for dealing with different lighting conditions. A higher ISO setting is useful in darker environments but it’s a balancing act to avoid too much noise.
For shutter speed, a long exposure is the go-to method. Astronomy photography relies heavily on long exposure techniques to uncover the faint glow of faraway stars, galaxies, and other celestial bodies.
Also, by keeping the shutter open longer you can use a particular technique to capture the movement of stars. This creates those stunning star trails that add dynamic beauty to your composition.
Focusing in the dark can get tricky. Unlike during the day, autofocus doesn’t work well at night so switch your lens setting to manual focus and use live view (if your camera has it).
This lets you adjust the focus until distant stars are sharp and clear. It might take a bit of time to get it just right, but try to resist rushing through this part.
One of the first subjects to consider is the moon and its different phases.

The moon’s brightness can easily wash out the dimmer stars, so aiming to shoot during a new moon can be advantageous. However, if you’re looking to capture the moon itself, timing your shots around a full or crescent moon can yield some breath-taking results.
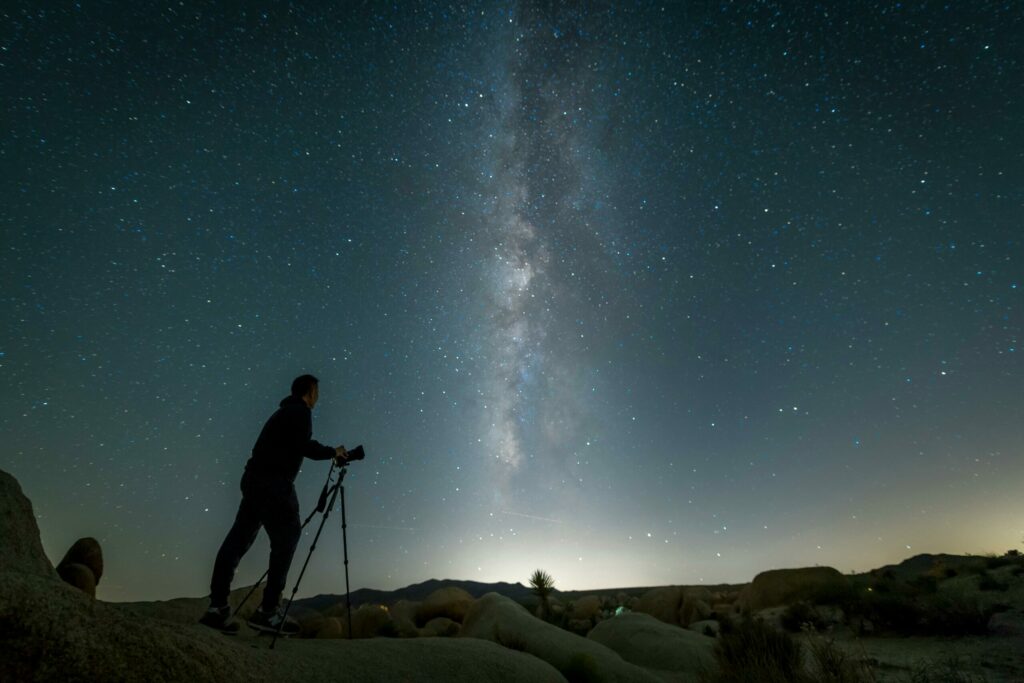
The Milky Way and planets can be some of the most rewarding targets.
For capturing wide-field shots like the Milky Way, start with the 500 Rule: divide 500 by your lens’ focal length to determine your maximum exposure time before stars begin to trail.
For planets or the moon, lower ISO settings paired with higher shutter speeds can yield sharp results.
Getting those jaw-dropping night sky shots is all about mastering the right techniques. It takes patience and sometimes a bit of luck with the weather too, but with a few tricks up your sleeve, you can capture images that truly stand out.
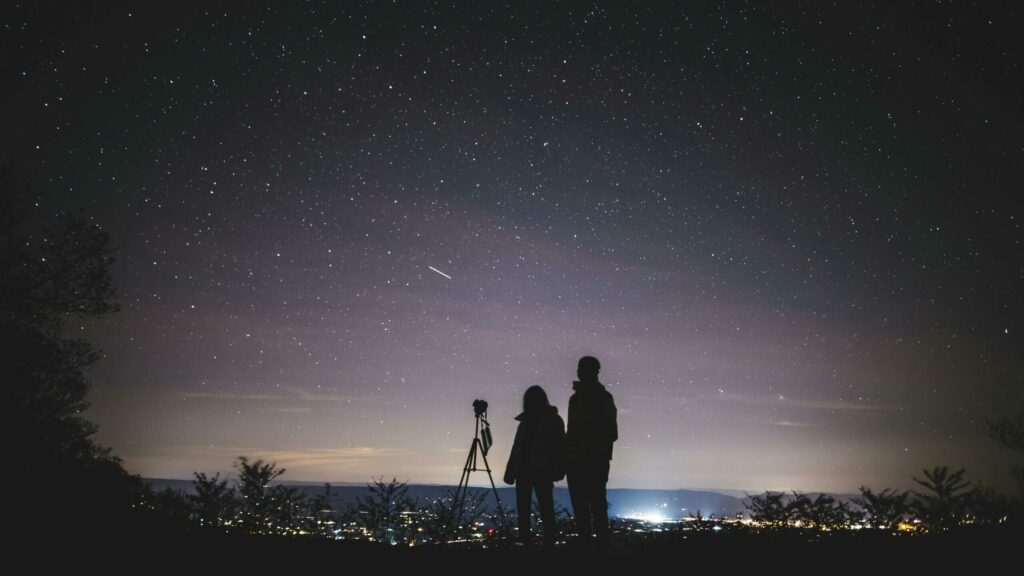
Composition and Framing Your Cosmic Art
Crafting a captivating composition is vital in astronomy photography. Adding some earthly foreground interest, like a silhouette of trees or mountains, can create an intriguing contrast, setting your celestial shot apart.
Balancing the frame with celestial objects and earthly landscapes makes your photos more relatable and visually appealing. Finding that sweet spot, where the stars or planets align with a familiar earthly scene, can transform a good photo into a great one.
Astrophotography techniques such as capturing star trails and the Milky Way can add artistic dynamics to your images. Star trails, created by stacking multiple long-exposure shots, can illustrate the earth’s rotation beautifully. Meanwhile, the Milky Way offers a brilliant and awe-inspiring focal point that’s both challenging and rewarding to capture.
Processing Techniques: Enhancing Your Astrophotography Skills
Once you’ve captured your astronomy photos, the next step is enhancing them with post-processing techniques. Software like Adobe Photoshop and Lightroom offers a suite of tools to bring out the best in each shot.
Adjusting colours, contrast, and brightness can transform a raw image into a stunning display. It’s about emphasizing what makes each celestial scene unique, turning subtle star-fields into vivid tapestries of light.
Noise reduction is crucial in managing the grain that often comes with high ISO settings and long exposures. Sharpening filters help bring out fine details, ensuring your stars and celestial objects are as clear and defined as possible.
Image stacking is a popular technique to improve the quality of your photos. By combining multiple exposures of the same scene, you can reduce noise and increase the signal-to-noise ratio, which helps those faint stars pop. Software like DeepSkyStacker can assist in this process.
Remember, post-processing isn’t about altering reality but enhancing what’s already there. The goal is to present a version of what you saw that aligns with the awe and wonder you experienced while out under the stars.
Mobile Phone: Astronomy Photography Tips
Astrophotography isn’t limited to high-end cameras. Modern smartphones, (paired with apps like NightCapCamera or ProCamera) and clip-on telescopic lenses, can deliver surprisingly impressive results.
Clip-on telescopic lenses enhance your phone’s zoom capabilities, allowing you to capture distant objects with greater clarity and detail.
These lenses are particularly useful for activities like stargazing. They are portable, easy to use, and often come with additional features like adjustable focus or compatibility with various phone models.
Many smartphones have a night mode that enhances low-light photography. Use your phone’s manual settings to control shutter speed, ISO, and focus for the best night-sky shots.
Set your focus manually to infinity for sharp celestial objects and if your phone supports it, shooting in RAW format retains more detail for post-processing.
Use editing apps like Lightroom or Snapseed to enhance colours and reduce noise.
Joining online forums or community groups offers a resource-rich environment. Sharing your work and engaging with other photographers can lead to tips, critique, and maybe even collaborations that help you grow and refine your skills.
As you collect more knowledge and experiences, your personal style and expertise in astrophotography will naturally develop and most importantly you’ll get pride and satisfaction from the photos you produce.
Happy snapping!